Curtain Pot
23 July 2020

Matt Ewles
This pothole on Fountains Fell only really came to the attention of the caving community under the most tragic of circumstances last year, involving an all-night effort to rescue one the diggers, which sadly resulted in a fatality. Some of the rescuers reported what an excellent cave it was, albeit terrible circumstances to be seeing it for the first time.
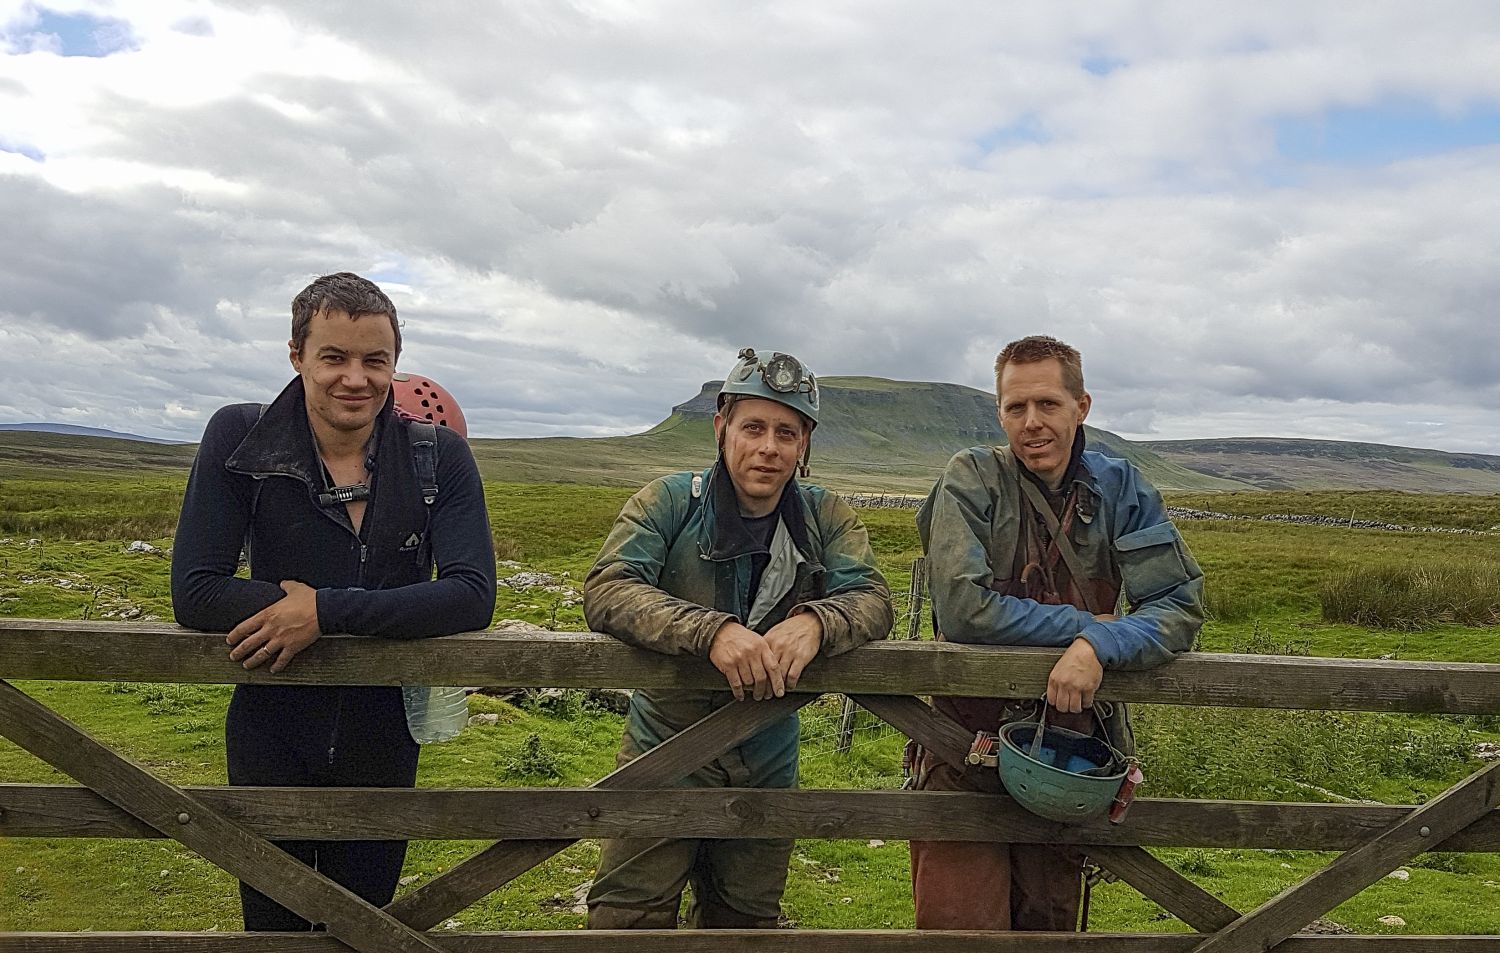
A year on from the tragedy, work to install IC anchors is complete, and surveying and diving projects are ongoing, and we decided it was time to go and see the newest addition to Fountains Fell. Safe to say that we unsure what to expect, however, we had been very kindly granted permission to use the ropes that were in-situ belonging to the current explorers, so this was a great chance to visit with minimalistic amounts of tackle.
Being a dig, and on Fountains Fell (which had been enlarged as part of the rescue), we had expected gnarly, tight, awkward and plain miserable caving, and after a (very) long walk to the rather isolated entrance, high up on Fountains Fell, I sat at the entrance with some trepidation about what lay ahead.
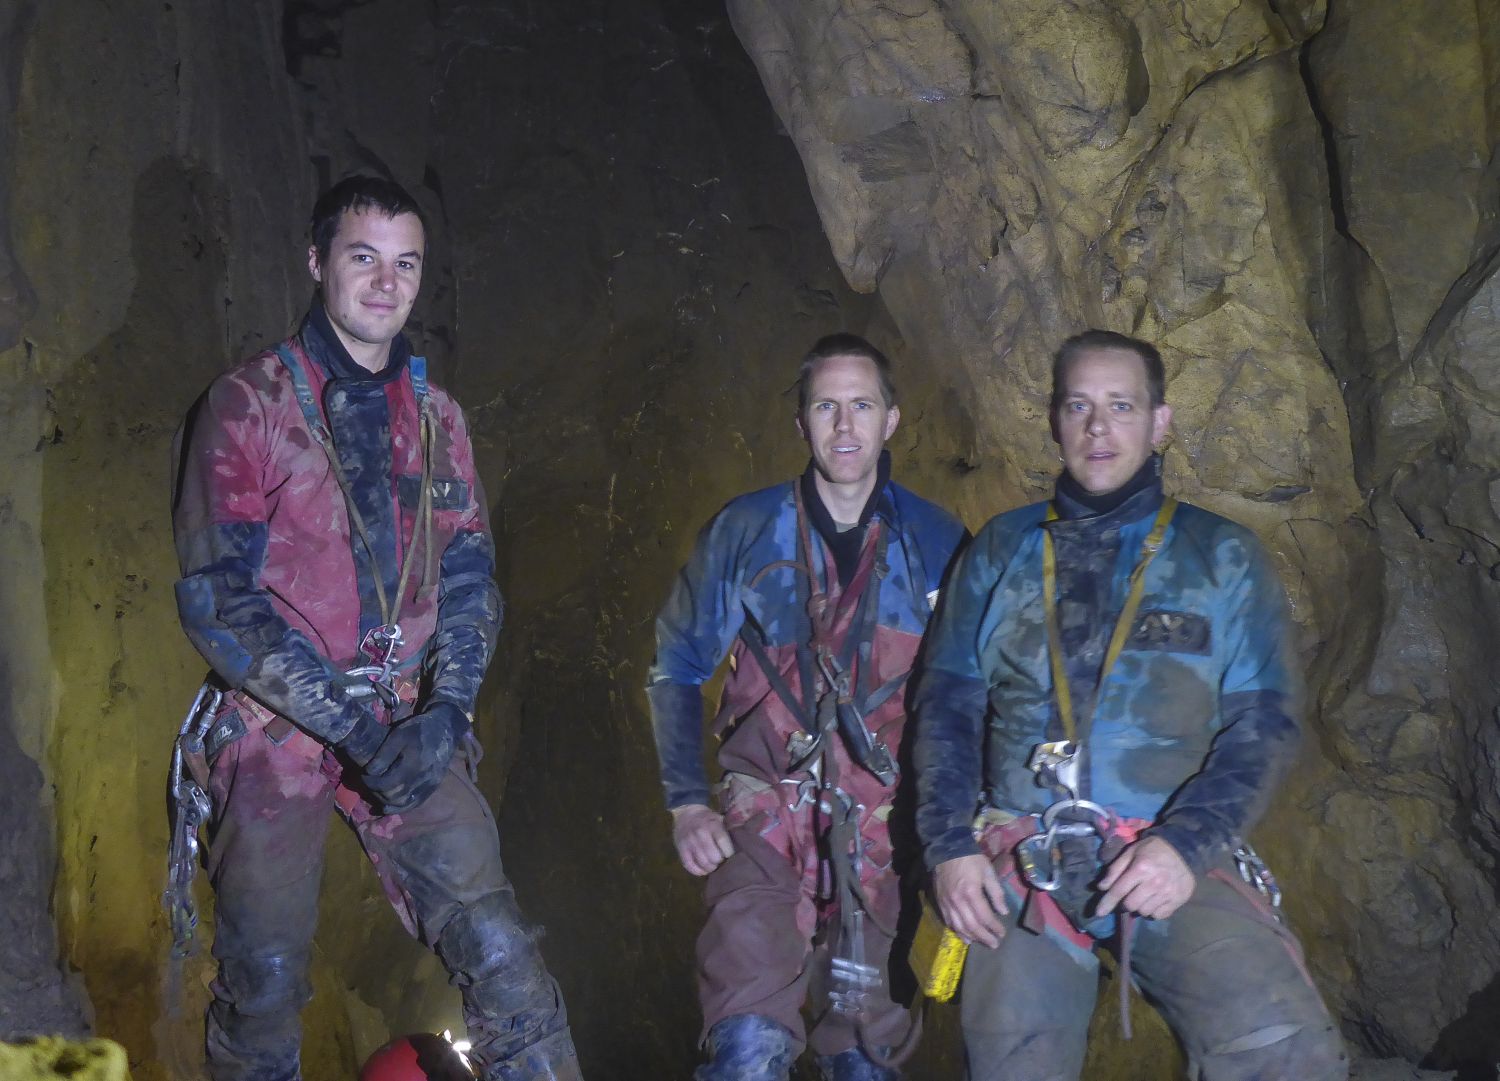
I’m pleased to say that my reservations were unfounded, and what followed was a magnificent 4.5hr underground trip all the way down to the sump, passing 10 pitches, plus some handlined climbs, some absolutely stunning large passages, good decoration, fine pitches, minimal crawling, and only a few narrow bits (never tight).
As there is no route description published anywhere, I have written the below. This will be submitted to the CNCC for publication in due course.
Location: Curtain Pot (SD 85933 69230)
- First + second pitch: 30m rope + 5 krabs
- Third pitch: 16m rope + 2 krabs
- Fourth pitch: 13m rope, 1 krab, 2 long slings
- Mud slope handline: 6m rope (optional; reasonably easy scramble without)
- Climb down handline: 10m rope (optional but strongly recommended)
- Fifth pitch: 10m rope, 2 krabs
- Sixth pitch: 20m rope, three krabs, long sling for deviation
- Seventh + Eighth pitch: 48m rope, 10 krabs (Or 25+25m ropes to rig separately)
- Ninth pitch: 25m rope, 5 krabs
- Tenth pitch: 26m rope, 3 krabs
Climb down to sump handline: 6m rope (easily climbed without)
Best approached from Dale Head, following the track all the way to the shooting hut, and a short distance beyond. After the pipe bridge over the stream, you need to turn left, off the path and to commence a long slog up the fell to the top, as far as you can see towards the stated grid reference. It may be slightly easier going to continue along the path for another five minutes before ascending, thus approaching the pot more from the south, as this route is less overgrown with bracken.
Curtain Pot is found in a sizable shakehole at the end of a line of shakeholes and is best recognised by a very large rock slab at the bottom of the shakehole. The actual entrance at the bottom of the shakehole is not immediately obvious from above.
Curtain Pot should be manageable in damp, but not wet conditions.
The entrance is covered with planks/carpet at the time of writing and is a feet-first drop under blocks onto the first pitch. The rope can be belayed from two IC anchors at the opposite side of the shakehole, and rebelayed at a single anchor just around the corner inside the entrance. The 5m drop lands on a slope of rubble and only a few metres on is the second pitch, rigged from a Y-hang. This is a little narrow at the top but soon opens out, and at the time of writing, descends past a massive plastic sheet (the curtain) which provides shelter from any falling water (there is likely to be a bit of spray here in all but driest conditions). The first and second pitch can be jointly rigged with a 30m rope.
At the bottom of the second pitch, step down 1m into a narrow crawl (the narrowest crawl in the cave, and by no means difficult) for several metres to the head of the third pitch. This is a stunning shaft. It is a little narrow at the top but soon opens out, and descends through the roof of a large chamber, landing on a huge block (no need to descend all the way to the floor). A 16m rope is needed.
The way on is to scramble up some blocks around the right wall of the chamber (in-situ tat as handline) to a sticky muddy balcony, with the way on as a short (5m) pitch, belayed initially from a large slab on the balcony (long sling useful) and then from a Y-hang comprising a natural thread (another sling) and an IC-anchor. A 13m rope should be sufficient.
The bottom of the pitch is a slightly confused area, but the way on is the most obvious route, reaching, after 15m a stepped drop with some stemples. Continuing onwards, the passage is now a T-shaped awkward crawl/thrutch along a washed-out shale band (lots of nice colours). Continuing downstream, the passage enlarges and passes nice stalactites and other formations, as well as a few block obstacles, before reaching an obvious crossroads.
Left and straight on here (the two most obvious routes) close down, but the way on is a less obvious 2m climb up the right wall (mind your head; formations above), which soon reaches the top of a 5m steep and slippery mud slope down, which could benefit from a 6m rope handline which can be rigged from a drilled thread.
At the bottom of the slope things start to get much better. Downstream (left) is followed through an impressive, large gallery passage to reach a beautifully decorated major junction. This is a fine spot. The way on at the junction is left (straight on is just an inlet). The following 100m or so of passage is superb; large, decorated, and splendid and mostly above the stream. You will pass some calcited shelves, evidence of where the floor level of the passage used to be once.
As the passage starts to narrow, stay high, well above the stream and into a short stooping height section of passage leading quickly to a 4m climb down under a wall of gravity-defying blocks; a 10m rope for a knotted handline is recommended, which can be belayed to a drilled thread 1m back from the climb.
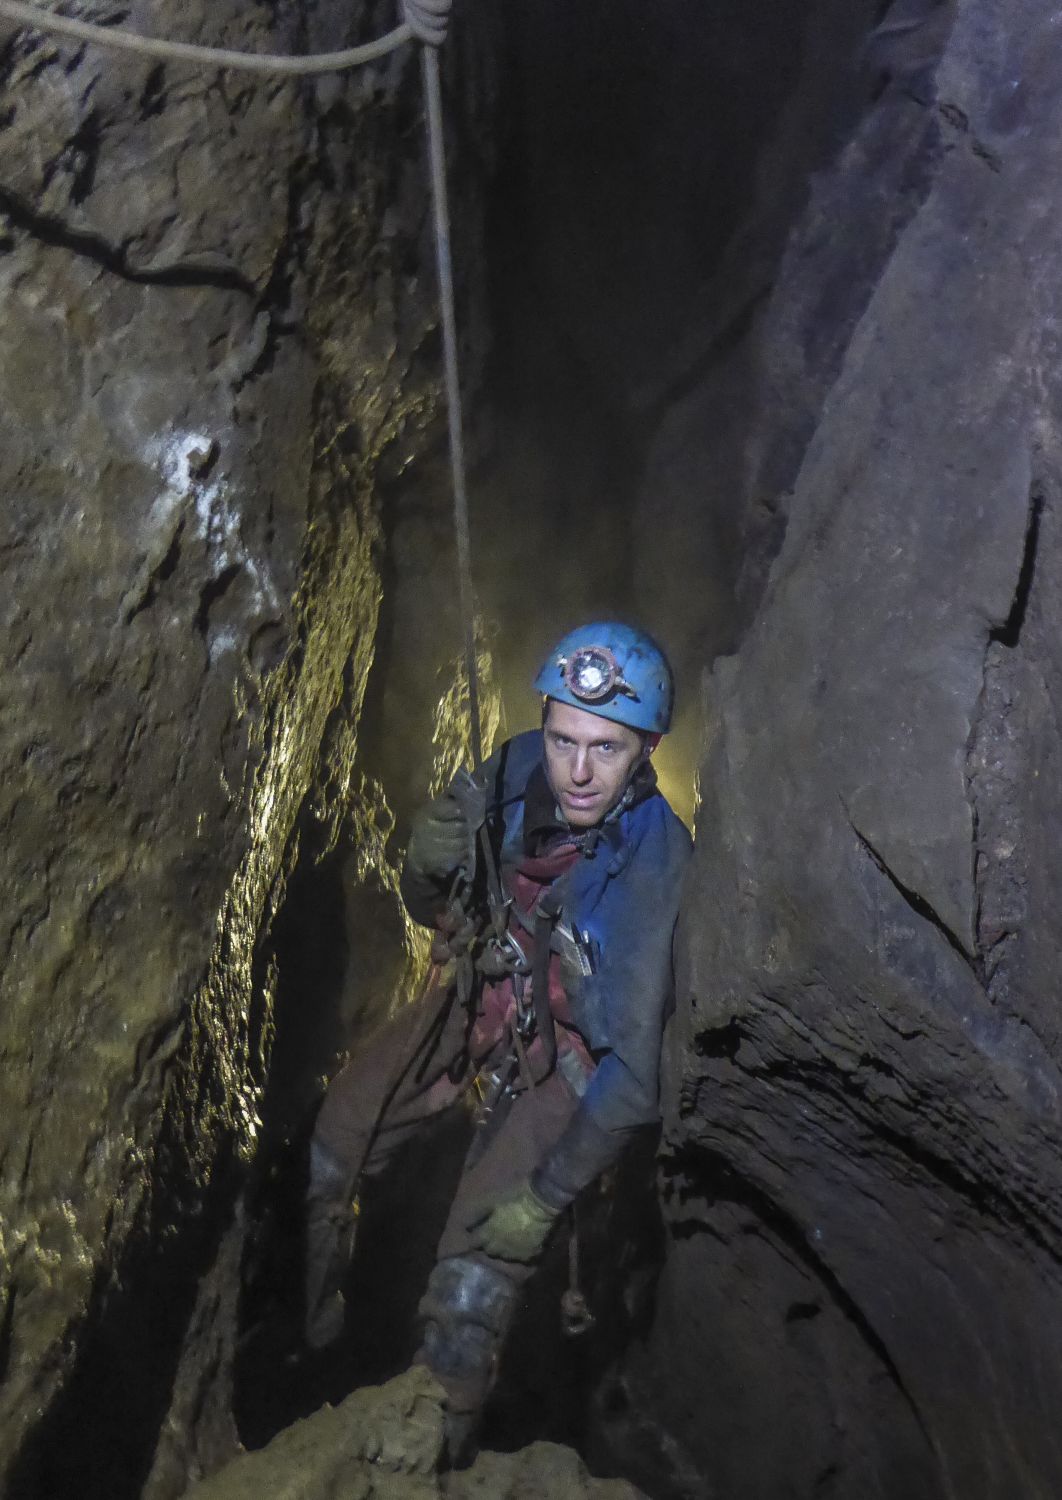
At the bottom of the climb the passage changes character and becomes as a traverse around a Z-bend to reach the next, short pitch, rigged from two IC anchors (one traverse, one for the hang) with a 10m rope. Do not descend to the floor, but exit the rope onto a traverse 3m above the stream. Just around the corner is a beautiful straw gallery, and a short distance beyond this, climb down to the stream to reach the start of the next (sixth) pitch. This pitch starts with a single backup anchor, and then an anchor just out over the pitch on the right wall, and then a further anchor 2m out along the right wall (quite an exposed traverse out over the pitch), to enable a dry hang. There is an optional deviation 3m down to pull further from the water. This is a fine, airy pitch needing a 20m rope.
At the bottom, follow downstream and the streamway turns sharp left to double-back on itself. About 15-20m further, three anchors on the right wall enable a traverse towards the seventh pitch, where a Y-hang on the right wall can be rigged. This pitch drops 13m down a spectacular aven, and may be a little damp near the bottom. A 25m rope will be sufficient.
The way on is not obvious, but it is a letterbox near the floor on the true right wall at the foot of the pitch (almost directly under where you have landed). This is very easily missed. This letterbox leads immediately to the eighth pitch which is rigged initially from a drilled thread in the roof of the letterbox and then from a Y-hang over the start of the drop. Descend a short distance and then, remaining on-rope traverse along the rift, with an anchor on the right wall to belay the rope, and then to a Y-hang for a 9m drop into a large boulder-filled passage. A 25m rope should be sufficient for this. Alternatively, the seventh and eighth pitch are better rigged with a single 48m rope.
Follow high along the bouldery passage (care; there are some deep holes) to soon reach the next (ninth) pitch, with a single anchor backup for the approach to a Y-hang on the left wall. Descend 4m and then traverse along a jammed boulder to another Y-hang for a 12m drop into a large rift passage. A 25m rope is sufficient for this.
Follow high along the passage and then descend a slope down towards the stream, which then turns sharp left. Follow as a short stoop in the stream or take a higher oxbow (the two routes soon rejoin). Further downstream, the route passes down under a perturbing jammed block, and immediately after the block it is necessary to climb 3m up to continue along the passage.
The passage descends and reaches a large chamber and the 10th pitch. A single backup anchor and then a Y-hang using anchors in the left wall and a huge block achieves a clear hang. Once rigged, it may be preferable to skirt around the right wall of the chamber to get on/off the rope from the back side of the hole (there may be an in-situ rope going up here; ignore). This pitch, the longest, is a stunning 18m drop, and needs a 26m rope.
At the bottom, the water flows away down an awkward and steeply descending passage soon reaching a 3m climb down to the sump (single anchor for short handline).

More articles
North York Moors valley to valley trip becomes a reality
By Matt Ewles | 13 Apr 2026
Exploration of the Excalibur MEGA extensions
By Matt Ewles | 14 Aug 2025
Excalibur streamway extended!
By Matt Ewles | 7 Aug 2025
Jenga vocally connected to River Dove valley!
By Matt Ewles | 24 Jul 2025
Dan-yr-Ogof Far North
By Matt Ewles | 27 May 2025
Brown Hill Pot
By Matt Ewles | 22 Apr 2024
Sunny Bank Holiday in Wales
By Matt Ewles | 5 Jun 2023
Avoiding the January Blues in Rift Pot
By Tash Durham | 16 Jan 2023
North Wales Slate Mines 2022
By Matt Ewles | 5 Dec 2022
Long Churn beginners trip. 10th October 2022
By Conor Morrison | 11 Oct 2022